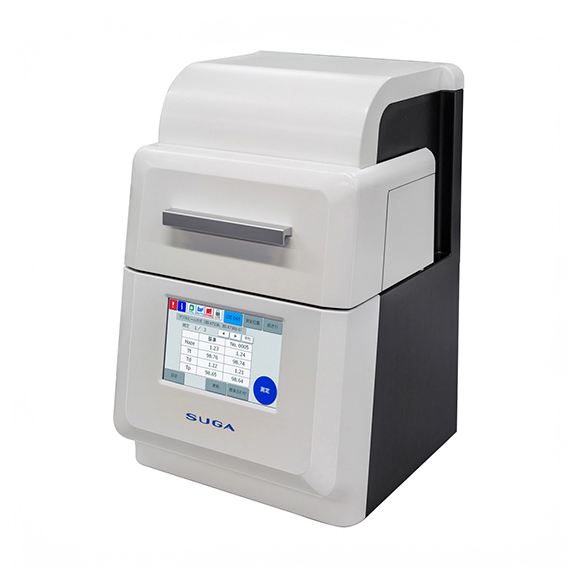
Easy-to-operate door opening
The door of the sample chamber moves back and opens to a height of 90mm,allowing the measurement hole position to be seen in a natural position. The measurement light source turns on when the door is opened, allowing to check the measurement position at a glance when setting the specimen. Measurement can be started automatically when it detects that the door is closed.
Measurement chamber is for large samples
It is possible to measure the center of specimens up to W270mm x D170mm.Measurement is possible even if the sample protrudes from the sample chamber.
Easy-to-read, Convenient display
It is easier to see values and buttons. It is possible to check the status,such as the decrease in light intensity and the elapsed time since standard adjustment, from the icons at the top of the operation screen.
Long-time-stability by TM Double beam
Stable measurements can be made for a long time without being affected by changes in light intensity. (The difference between the measured values after 1 hour is within ⊿Tt 0.1). The measurement results are consistent with ISO 14782 and JIS K 7136 compensated aperture methods.
TM type is the symbol of Suga Test Instruments' uniquely developed technology.
Data transfer software available as standard
Data transfer software for PC (compatible with Windows™11) is included as standard. Measurement data can be transferred to Microsoft Excel™.
It is possible to transfer measurement data to USB memory stick and print the measurement data using a printer (optional).
“Windows™” and “Microsoft Excel™” are registered trademarks of Microsoft Corporation.
Test standard
ISO 13468-1, ISO 14782, JIS K 7136, JIS K 7361-1, JIS K 7105*1, JIS R 3212*2, ASTM D1003
*1: Withdrawn *2: Required light beam φ7mm with CIE A light source.
