Capable of both vertical and horizontal positioning.Developed in pursuit of usability
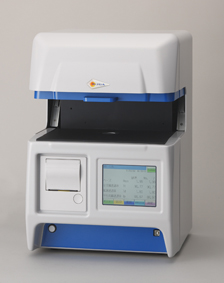
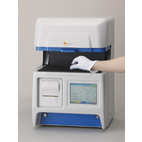
By setting the haze meter vertically, specimens in the form of plates can be measured simply by placing it on top of the flat specimen stage.
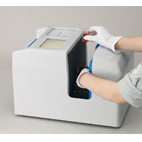
By setting the haze meter horizontally, specimens such as films and liquid cells can be fixed using the special specimen stage so that they can be measured under the same conditions each time.
2. Automatic measurement after the lid is closed
The automatic measurement mode allows the measurement to be performed automatically after the specimen is set and the lid is closed.
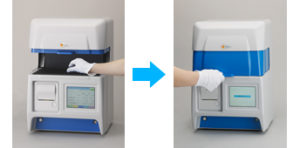
Close the lid to start the measurement (measurement duration: max. 2.5 seconds)
3. No need for complicated procedures
JIS K 7136*1 and JIS K 7361-1*2 requires for the white standard plate to be placed before placing the specimen, but HZ-V3 is equipped with a light trap–white plate automatic switching system, allowing for measurements to be performed in a single action (PAT.).
*1: JIS K 7136 “Plastics。-Determination of haze for transparent materials”
*2: JIS K 7361-1 “Plastics。-Determination of the total luminous transmittance of transparent materials。-Part 1:Single beam instrument”
4. Flat specimen chamber for large-sized specimens
Specimens of size up to 260 × 180 × t30 mm can be set (when the instrument is positioned vertically). The stage is flat, making it possible to measure samples that are too big to be set in the room.
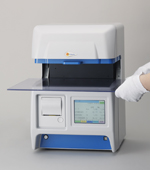
Measuring large samples.
5. An one-in-all unit with touch panel and printer built-in
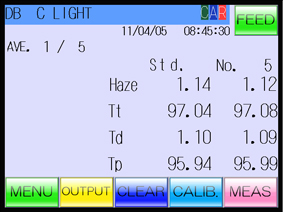 Vertical
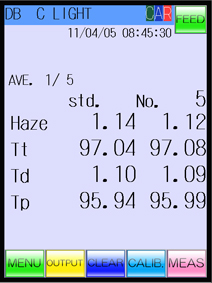 Horizontal
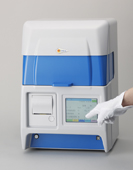
The touch panel will switch its display position depending on the position of the haze meter.
6. The TM Double Beam method developed by SUGA
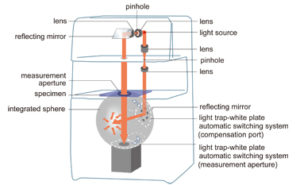
The TM Double Beam method is a system which continuously compensates the shift in the amount of light, which allows for stable measurement over a long period of time. The beam from the light source is divided into two highly parallel beams, and then automatically enter the integrated sphere alternately through the measurement aperture and the compensation port.
7. Measurement accuracy
The attached calibration standard plate is traceable to the UK’s National Physics Laboratory. The instrument’s accuracy established and maintained with Suga’s JCSS light calibration technology. It can also be calibrated with the calibration standard plate specified in ASTM D1003.
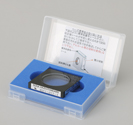 Calibration standard plate, a standard accessory.
8. Easy lamp replacement
The new design has made the alignment procedure after the lamp replacement unnecessary. The lamp replacement procedure done at the back of the instrument can also be done with ease (approximately every 2000 hours).
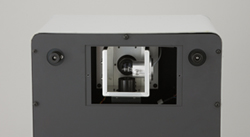 Lamp replacement area
9. Various attachments (option)
We provide many different attachments (specimen holders) for different kinds of specimens.
 Cell(for liquid specimens) Liquid cells with different size and thickness.
 Magnet film holder Flattens the soft and thin films on the measuring surface for more accurate measurement.
 Foot switch For large specimens that require both hands to measure.
The attachment of aperture diameter φ7mm is also provided for JIS R 3212 to measure haze of safety glazing materials after abrasion test.
※Please refer to the separate specification document and the blueprint for further details.